
This is the first of the three first-steps guides. When you finish it you will have an establishment, one site, one building and at least one floor — the minimum structure a floorplan can attach to.
Before you start
Have these ready.
- The sites.manage permission (Super Admin, Safety Officer or Security Manager).
- The site's real postal address.
- An agreed naming convention — the names you choose here appear on signage, on phones and in incident reports.
- 01
Open Sites and start establishment setup
Go to Sites in the main navigation. On a new organisation this opens Set Up Your Establishment rather than a list, because there is nothing to list yet.
Field or control What it does Establishment Name The organisation as people refer to it. This is the name that appears at the top of incident reports and compliance exports. Establishment type School, College or University. The type shapes the compliance guidance MassComs surfaces later — it is not cosmetic. 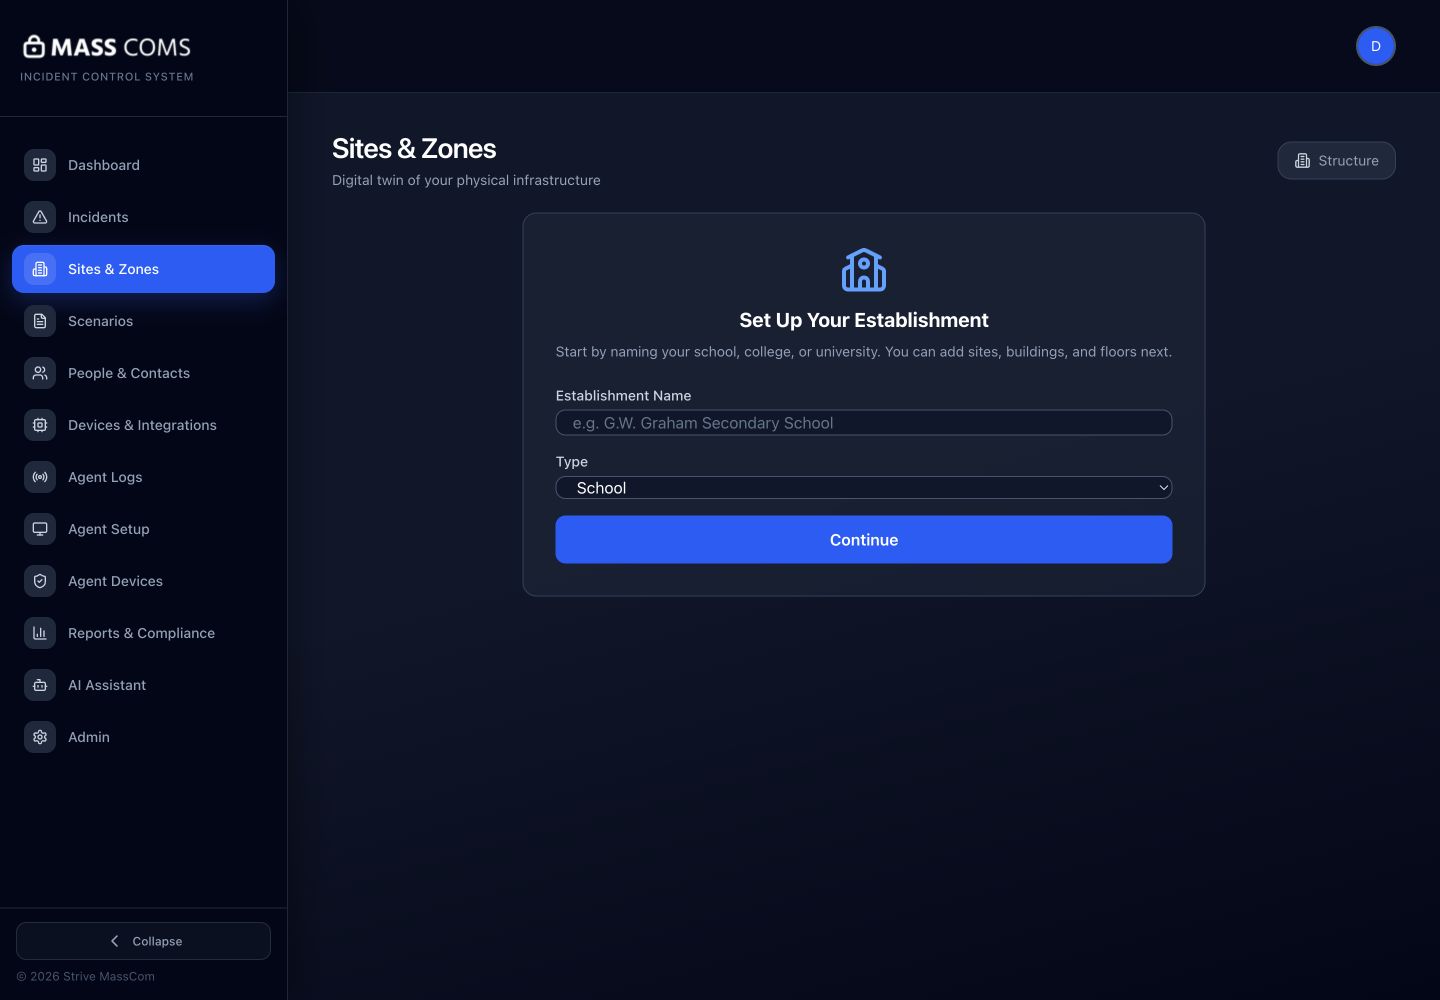
Establishment setupMassComs Sites screen with the establishment setup panel and site hierarchy. - 02
Add the site
Add a site for each physical campus or address. A site is the unit that users and devices are scoped to, so a user restricted to one site will never see incidents or people from another.
Field or control What it does Site Name Use the name staff say out loud, not an internal code. It is read aloud in voice announcements and shown on signage. Address Optional in the form, but fill it in. Address autocomplete resolves the coordinates that geofencing and the assembly-point direction map rely on. One address per site. If a campus has two addresses that emergency services would treat separately, make them two sites.
- 03
Add buildings and floors
Inside the site, use Add Building, then Add Floor within each building. Floors are the level a floorplan attaches to, so a building with no floor record cannot have a plan uploaded.
Name floors the way the building signs them, not the way a database would sort them. If the signage says Ground, First, Second, use those words — a person reading an exit instruction under stress should see the same word they can see on the wall.
- Add every floor you intend to cover, even ones you will not trace immediately.
- Keep basement and mezzanine levels as their own floors — multi-floor routing needs them to exist to route through them.
- Do not create a floor per wing. Wings are zones, not floors.
Confirm it workedThe Site Hierarchy panel should show your site with the building nested under it and the floors nested under the building.
- 04
Add rooms
Rooms can be added by hand here, or created automatically when the floorplan trace detects them. If you are about to trace a plan, let the trace create them — you will get boundaries as well as names, and you avoid maintaining two lists that disagree.
Add rooms by hand now only for spaces that will never appear on a plan, such as an external store or a car park cabin.
- 05
Create response zones
Zones are what an incident is actually targeted at. Create them around how you would respond, not around how the building is drawn — the question is "which rooms do I want to give the same instruction to at the same time?"
A zone that covers everything is legitimate for a small site, but it removes your ability to evacuate one wing while holding another. Most organisations end up with a zone per floor per building, plus one or two special zones for high-risk or isolated areas.
- Give every zone an assembly point later, in the floorplan builder — a zone without one cannot resolve a muster destination.
- Zones can span buildings if your procedure treats those areas together.
- Every room should end up in exactly one zone. Rooms in no zone will show as Not in a zone and are excluded from targeted activations.
Rooms left out of every zone are silently excluded from zone-scoped incidents. Check the Not in a zone list before you rely on zone targeting.
Troubleshooting
When it does not go to plan.
| Symptom | Usual cause | Fix |
|---|---|---|
| Add Floor is unavailable. | No building is selected, or the site was saved before a building was added. | Select the building in the Site Hierarchy panel first, then Add Floor. Floors belong to buildings, not directly to sites. |
| Address autocomplete returns nothing. | The address lookup needs outbound network access from the browser, and some school filters block the provider. | Enter the address by hand. Geofencing and the direction map will be less precise until coordinates resolve, but nothing else is blocked. |
| Sites is missing from the navigation. | Your role does not hold sites.manage. | Fire Warden, Senior Leadership, Reception Staff and Teacher roles do not hold sites.manage. Ask a Super Admin or Safety Officer to make the change, or to grant the permission. |
Good to know
Small details that prevent big confusion.
- Renaming a site or building later is safe. Deleting one is not — devices, incidents and reports reference it.
- The hierarchy is also the permission boundary. Site-scoped users see only their own site's people, incidents and devices.
- If you are running a trial, still build the real structure. Rebuilding it in production means re-enrolling every device.
Was this guide clear?